
# Hi~!这里是奋斗的明志,很荣幸您能阅读我的文章,诚请评论指点,欢迎欢迎~~
## 📚 本系列文章为个人学习笔记,在这里撰写成文一为巩固知识,二为展示我的学习过程及理解。文笔、排版拙劣,望见谅。

### Redis Java 集成到 Spring Boot
- [一、使用 Spring Boot 连接 Redis 单机](#_Spring_Boot__Redis__20)
- [1.创建Spring Boot 项目](#1Spring_Boot__21)
- [2.勾选相关依赖(Dependencies)](#2Dependencies_23)
- [3.界面显示](#3_34)
- [二、配置 Redis 服务地址](#_Redis__38)
- [1.在 application.yml 中配置](#1_applicationyml__39)
- [2.映射端口号](#2_53)
- [三、创建 Controller 类](#_Controller__57)
- [1.创建一个 MyController](#1_MyController_58)
- [2.使用 String](#2_String_76)
- [3.使用 List](#3_List_115)
- [4.使用 Set](#4_Set_153)
- [5.使用 Hash](#5_Hash_193)
- [6.使用 ZSet](#6_ZSet_237)
- [四、小结](#_282)
## 一、使用 Spring Boot 连接 Redis 单机
### 1.创建Spring Boot项目

### 2.勾选相关依赖(Dependencies)
- NoSQL 中的 Spring Data Redis
- 把 Web 中的 Spring Web 也勾选一下
- 方便写接口进行后续测试

* * *

### 3.界面显示

## 二、配置 Redis 服务地址
### 1.在 application.yml 中配置
```java
spring:
data:
redis:
host: 127.0.0.1 # 地址
port: 8888 # 映射的端口号
补充:
Spring Boot 1.x 和 Spring Boot 2.x 中,spring.redis.host用于配置 Redis 连接属性。
Spring Boot 3.x 中,spring.redis.host已经弃用。
从 Spring Boot 2.x 开始,引入了spring.data.redis作为配置 Redis 连接的方式,并且在 Spring Boot 3.x 中也可以使用spring.data.redis进行配置。
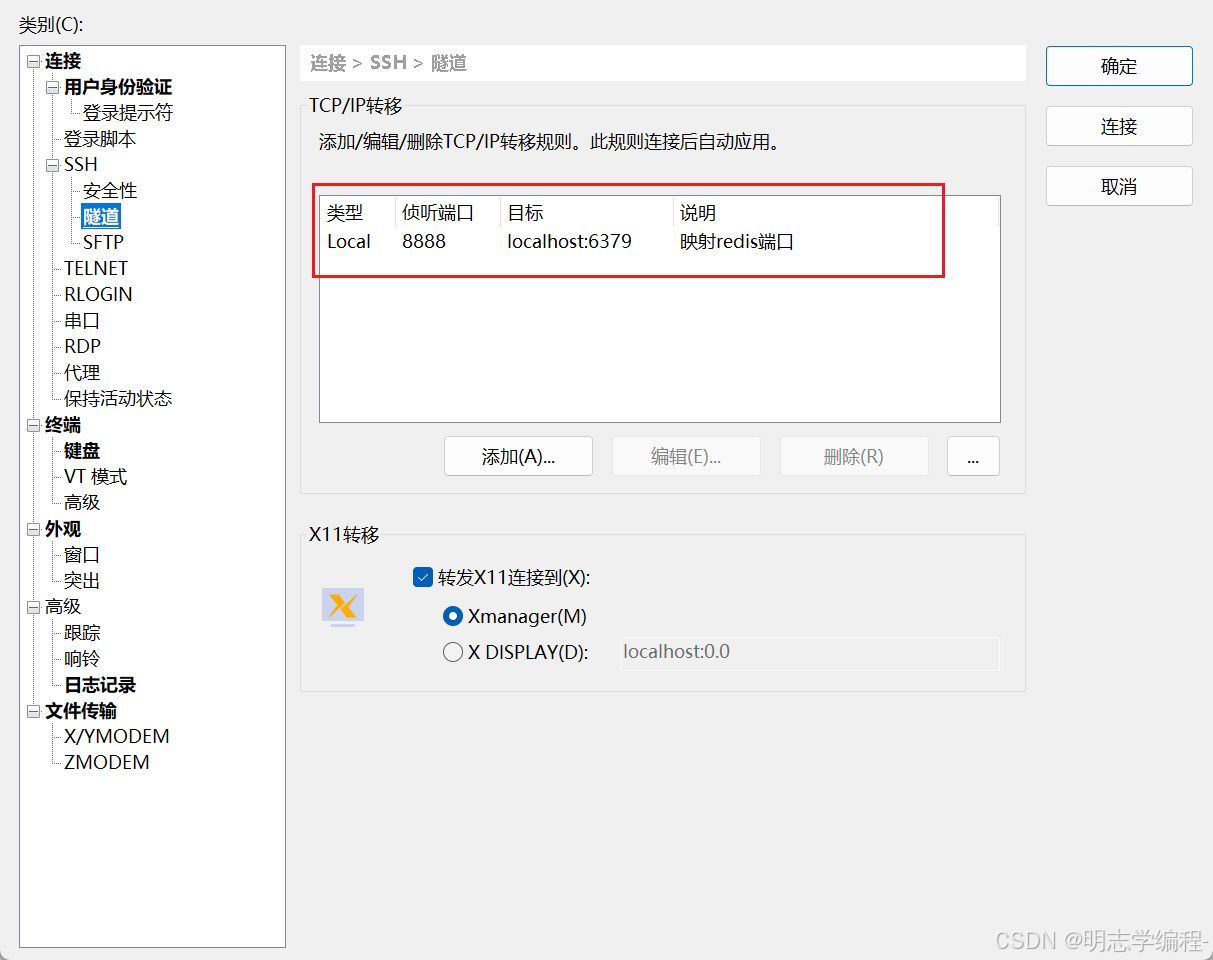
2.映射端口号
- 用Shell8 进行配置,需要一个公网ip

三、创建 Controller 类
1.创建一个 MyController
由于当前只是写简单的测试代码,我们就不进行分层了。就只创建个简单的 Controller 即可。
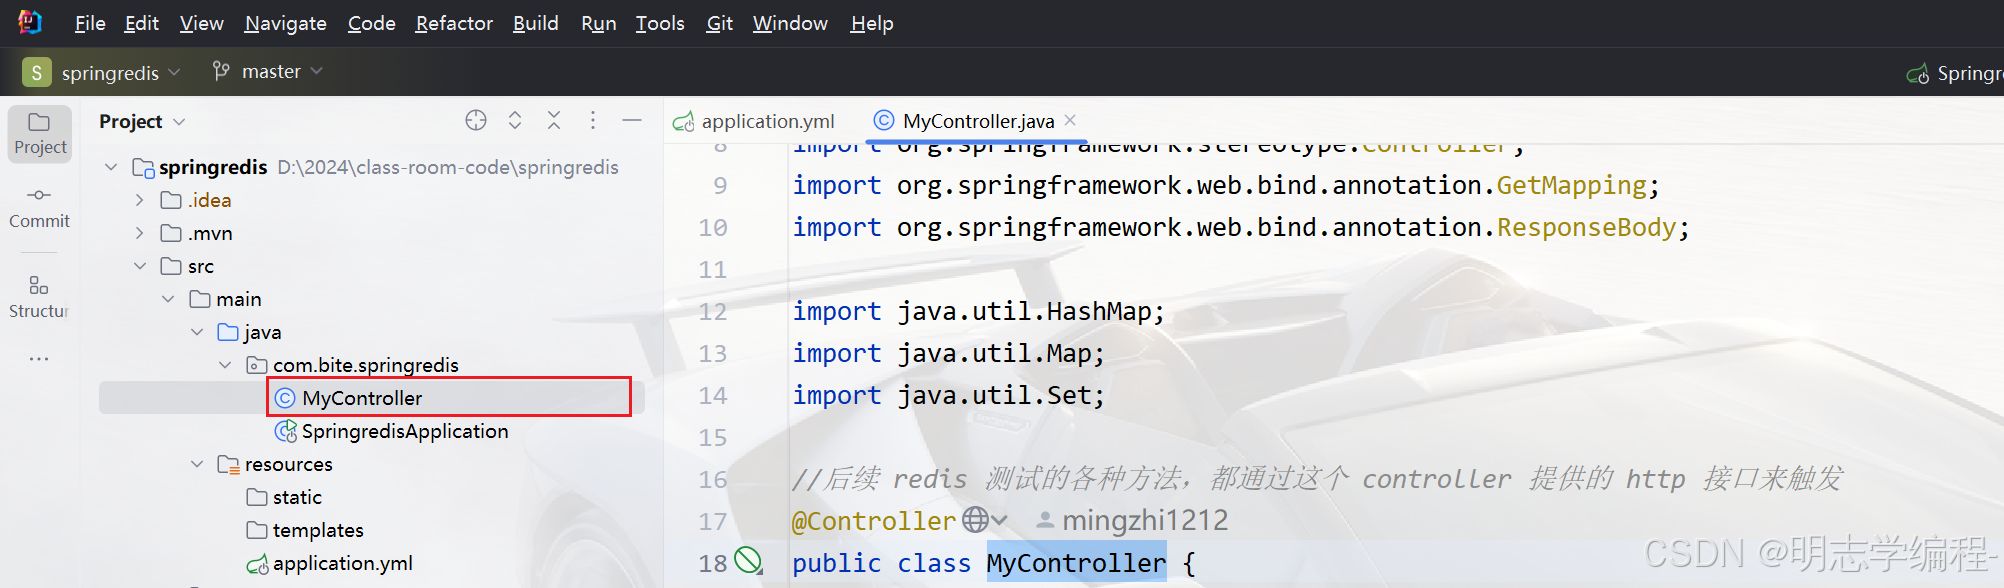
@RestController
public class MyController {
  @Autowired
  private StringRedisTemplate redisTemplate;
}
StringRedisTemplate用来处理文本数据的
继承于RedisTemplateRedisTemplate可以处理文本
文章整理自互联网,只做测试使用。发布者:Lomu,转转请注明出处:https://www.it1024doc.com/4512.html